If you are looking to have a successful gardening experience, preparing your soil properly can be the best use of your time. It will save you stress, troubles, and even work.
- You will reduce your weeding time
- It will help to increase soil quality
- You will give your plants the best possible start
You need to prepare your soil so that you're getting rid of any weed remnants and making the soil as rich as possible. When you take these steps, you will encourage better growth.
One of the things you may find about gardening is that preparing your soil is something that can be a unique venture. Each farmer will get to know their soil and begin to understand what their soil needs in order to be healthy.
But this sort of relationship to one's soil is often cultivated over many years.
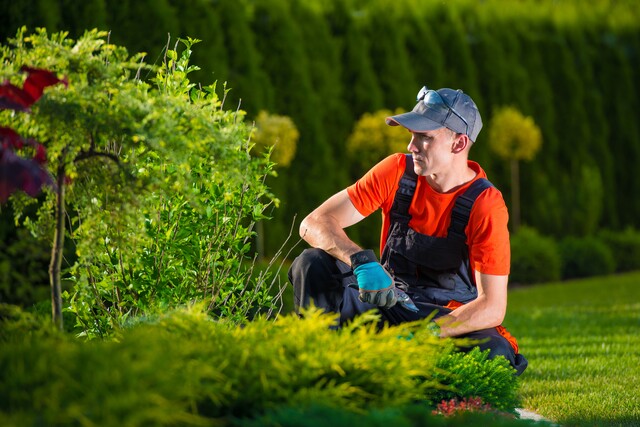
When you're first starting to garden, it can help to follow this basic step-by-step process for preparing your garden. (And yes, you can use a rototiller instead of a shovel, but it can be a good practice to start with a shovel to get to know the space where you will be growing.)
- Use stakes to define the edges � Take wooden stakes and then tie twine or string around the edges of your garden space to make sure you don't prepare soil where it doesn't need to be prepared.
- Take a shovel and rip up the grass � Start this process at the edges of your garden and slowly work your way to the edges in a line-by-line fashion. Put this soil/grass in a wheelbarrow.
- At the next line of grass to rip up, take those pieces of grass and soil and place them upside down in the first row. Continue this process until you reach the end of the garden space.
- Take the other lawn pieces and add them to the final row when you've ripped that line up.
- Let the garden space sit for a few days and then use a hoe to break up the pieces of grass that are on the top of the garden space.
- Use a spade to break up the garden further and try out making 6 to 8 inch holes in the garden. Wait a week and repeat the process.
- You're ready to plant!
When you've taken the time to follow this entire process, you will find that your garden is much more productive, while also being ready for your seeds or starters within a few months.
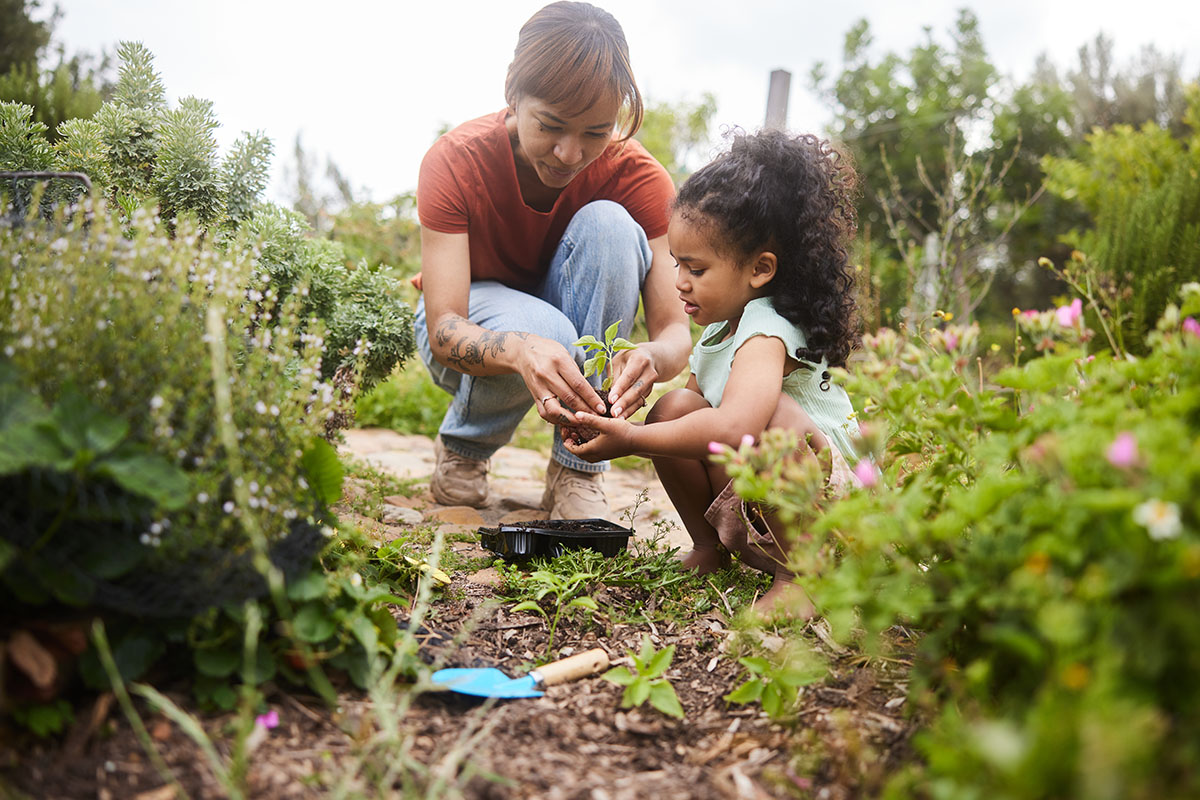
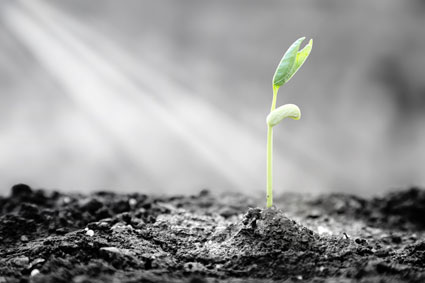
Just as you can prepare your soil ahead of time, you will also want to prepare your plants ahead of time. When you start your plants indoors, you can begin to have plants that will produce vegetables more quickly, while also having fewer growing problems.
For those who are concerned about dipping temperatures in their area, it can help to start your plants indoors. There are a number of different ways in which you can handle this process, but you will learn one of the most commonly used, as it is simpler for beginners to follow.
http://www.sxc.hu/photo/1064288Soilless Mixes
While you may think that starting with soil is the best way to plant your seeds and other smaller plants, this is not necessarily the case. When you use potting soil, it can cause troubles for new plants. Not only is this soil heavy, but it can also foster growth of fungi and other pests, which can kill off plants before they get started.
If you're not sure about using soilless mixes, or you don't want to spend the money on these mixes, you can also take out pieces from your lawn/garden where your garden will eventually be settled.
As you are growing indoors, you need to create the proper lighting, as this will ensure the plants believe they are outdoors before they actually are.
Fluorescent lighting will normally do the trick, as it provides the range of light that plants need. Cool white lights will work for growing vegetables and they are inexpensive to purchase and to run.
The lights should be just a few inches from the surface of the soilless mix to ensure proper coverage.
Just as with the sun, you will need to use these lights for certain periods of the day. Some gardeners will choose to use the lights for longer periods of time to stimulate growth.
A good rule of thumb is to have the plants in the light between 12 and 16 hours a day, with some times of darkness, as they will experience in nature.
You will want to place the seedlings in the right containers, helping to give enough space for the roots to take hold, while also helping to keep the plants in containers that will allow for each transplantation.
It can help to look to see what the plants are typically grown in when you visit gardening shops. The plants that have the larger pots will need to have larger pots when they are growing indoors. The larger pots are designed for those plants that have extensive root systems.
When growing one seed at a time, it will help to have smaller pots, including:
- Milk cartons
- Plastic trays
- Styrofoam cups
- Peat pots
You can choose from any of these or you will find smaller pot options in your local gardening store too.
You can also use a tray to begin your plants in the indoor setting, helping to create a great start for your seeds.
All you need to do is:
- Make sure your soil/soilless mix is moist, not wet. Place it into the tray.
- Smooth out the top of the surface with a flat tool.
- Place seeds evenly over the top of the top of the mix, not necessarily in rows.
- Push the seeds into the mix with the flat tool.
- Add more moist mix on top of the seeds in a thin layer.
- Smooth the surface of the mix.
- Cover the entire tray with plastic wrapping to keep moisture in.
Just because you have plants that are growing doesn't mean you can simply throw them into the ground outside.
You need to gently introduce your plants to the new setting, often called hardening.
Place the plants outside for a few hours on a mild day, then for a few more hours on another mild day. As the days begin to be warmer and the threat of frost is gone, then you can leave them outside and begin the planting process.
- Wet down the new plant's soil before pulling them out. This will reduce the risk of shock to the roots.
- Take the plants out of their trays, gently to avoid ripping the roots or shocking them.
- Keep the soil around the roots, instead of shaking it off. The plant is accustomed to this environment and you should avoid altering it whenever possible.
- Plant the plants into the prepared soil and gently create holes that are deep enough to contain the root's length.
- Cover the roots with the soil. Do this immediately to prevent any damage to the roots.
- Water generously after the plant has been placed into the hole.
If you have smaller seedlings that only have a single root to go into the ground, covering the plant with a piece of newspaper wrapped around the root can help to reduce possible shock to the new root.
What you need to know about weeds is that they are going to grow wherever they are allowed to grow. If you don't properly prepare your soil, you can have more troubles with weeds than you need.
There are other ways to handle weeds when they begin to take over your garden, helping to protect the long-term health of your plants.
Pulling Weeds by Hand
Even though this might seem like a low-tech way to handle weeds, you can always begin to weed your garden by hand. All you need to do is to take the weeds that surround your plants, pull them out with your hands by grasping the bottom of the weed as close to the ground as possible.
This will help you remove the weeds at the root, as opposed to removing them from the top, which will leave the root in place. And when the root is left in place, the weed will come back again.
You will want to use gardening gloves when you are pulling weeds, helping to ensure you can get a good grip without hurting your hand in the process.
You can make the weed pulling process easier by:
- Moistening the soil first.
- Pulling the weed quickly.
- Pulling weeds on a regular basis.
- Using a spade to break up the soil around the weed first before pulling.
In time, you will find that you have a certain method that works best to pull out weeds, but this might take some time to develop.
Note that pulling weeds by hand can become cumbersome and it can cause you to have to spend a lot of time in the garden. It can be easier to try the other methods of weeding when you have a lot of weeds to remove.
Many people aren't quite sure what a hoe is used for in their garden. One of the best uses of this tool is to help with the weeding process. What you're doing is not only breaking up the soil around the roots of the weed, but you are also helping to create damage in the roots of the weed, which will discourage regrowth.
There are a few different kinds of hoes that you can use, including a common hoe, a finger hoe, and an onion hoe. These are all different sizes, with the common hoe being the biggest.
As you can probably ascertain from the other hoe names, they are for smaller spaces and for specific crops, though you can certainly use them with other vegetables.
Now, instead of chopping at the weeds that you find, it's important you use the hoe to gently pull the weeds up from the surface, helping to create damage in the weed.
If you chop too hard at the weed, you run the risk of putting the weed's seeds back into the soil, making even more work for yourself in the end.
The onion hoe can be used to weed between plants, using the same motion as described for the traditional hoe.
You can also use a tiller or a rototiller (carefully) to prevent weeds from taking over your garden. By carefully measuring the distance between your rows of plants, you can set up a tiller to run down the aisles of your garden. In doing so, you will get rid of the weeds and their root systems, and you will only need to make one pass or two to get the job done.
The main concern with this sort of process is that it can damage plants if you're not careful.
You need to make sure the tiller is only as wide as the space between your plants, and even then, it will be good to give a few inches of clearance on both sides.
Move slowly between the plants to ensure you are only damaging the weeds and not the root structures of your garden's plants.
Some new gardeners will want to find weed killing chemicals as they seem to offer the most effective weed killing strategy, but this is not the case.
Instead, you need to think first about preventing weeds. You can do this by properly preparing your soil at the start of your season, as well as continuing to use the hoe to loosen the soil as the plants grow.
In addition, you will want to make sure you've removed the weeds properly so they don't come back.
The problem with chemicals is that they can cause troubles with the safety of the vegetables you are growing. After all, the chemicals will infuse the healthy plants as well as the weeds in the area. You may be ingesting those chemicals when you eat the vegetables.
Ideally, it's better to prevent weeds or to pull them by hand before using a weed killer.