Definition of Vase: An open container, of glass, porcelain, or other material, used for holding flowers, or for ornamentation.
For our purposes, the vase can certainly be ornamental, and must be considered when planning an arrangement, but from the perspective of a floral designer, a vase is a container designed to hold flowers, that is taller than the opening at the top.
That being the definition of a vase, what is everything else? You'll notice that the title of this article is "Containers" because not all flowers are displayed in a vase. Many containers can be used to display flowers, and only some of them are vases.
Containers can be ANYTHING that holds flowers!
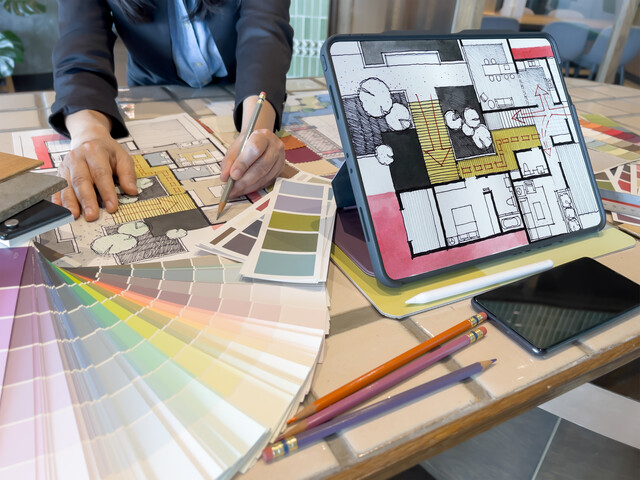
We'll talk about ways to design arrangements in a traditional manner, and then we'll discuss other ways of displaying flowers that are less than traditional. Remember, in floral arranging, while there are some basic rules, for the most part, this is an art form, and artists are constantly looking at their environment for unique and unusual ways to display their floral arrangements.
Use your imagination, consider who will be receiving the flowers and use some of the ideas contained in this article to get you started on looking at new and unusual ways to display and present a floral arrangement. Think about new and unique containers that will make a statement when you present the flowers. There are a number of competitions throughout the United States that take flower arranging to new levels. You should look to see if you can find one in your area and attend. You will be inspired and stimulated to create new designs based on your own ideas.
Go to www.aboutflowers.com/competitions for more information national floral design competitions around the U.S.
Clear vs. Opaque
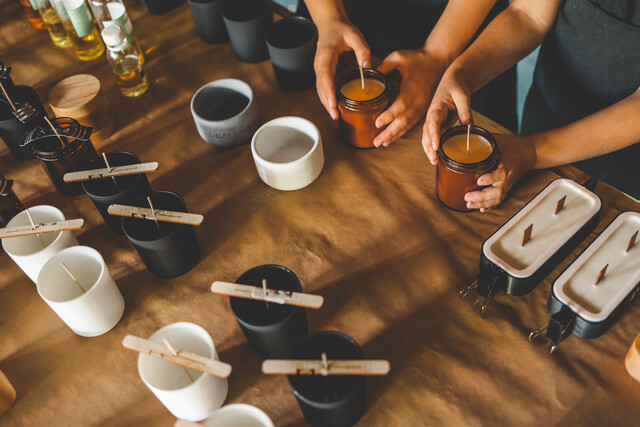
Clear vases are most commonly made of glass. Other containers that are opaque, or not clear can be made of colored glass, porcelain, ceramic, concrete, plastic.they could be baskets, boxes, bags, pots, kettles, buckets. Here are a few examples of clear and opaque containers.
Some floral designers have a very distinct preference for their choice in container. For example, Michael George's genius when it comes to arranging flowers incorporates his choice of clear glass containers because of his belief that glass vases highlight the sculptural flow from the stem to the flower.
Pay attention the next time you are in a fine restaurant or hotel. Many of their arrangements follow George's techniques in using a tall, clear glass vase to highlight the stems of the flowers in addition to the arrangement of the buds and blossoms.
Using a tall glass container helps to illustrate the use of a hybrid tabletop arrangement of stems where all the stems of a tall flower, such as a calla lily are cut to the same height. The stems are then twisted, one direction in the top, and the opposite direction at the bottom. This creates a signature twist of the stems.
Clear vases also make an arrangement appear taller, lighter, and less grounded.
Opaque vases give the sense of weight and formality that certain situations require. Here are a few examples of floral arrangements that are similar, but portray a very different feeling because of the type of vase they use.
In both examples that follow, I tried to compare a similar sized arrangement, both in terms of the size of the container and the height of the floral part of the arrangement.
Look at each pair and notice the difference in each of them.
As you can see, the glass vase on the left seems lighter, more airy, and even taller than the one on the right. Interestingly enough, the one on the right is actually a couple of inches taller, but because of the type of container, and the colors chosen for this arrangement, it feels a bit heavier, and more likely to be used during the winter. This also has a lot to do with the use of color. You're beginning to see how color plays a big role in the arrangement, as does the type of container you decide to use.
In this second set of pictures, I decided to use similar colors of flowers, but used a different container for each of them. As you can see, the one on the left has an interesting grid or matrix of stems that are visible through the square glass container. The arrangement on the right has even lighter colored flowers, and yet still feels a bit more formal, heavier, and more grounded. They are both very nice, but they exude different feelings.
Remember: Once you learn the basics of floral design you will also realize that your container choice will depend on what method of arranging you decide to use. If you are using the stems as an integral part of the arrangement, you want people to see the stems! You'll put the arrangement in a clear container.
Here is a photo of a pink flower arrangement in a square glass container, but the purpose is not to show off the stem arrangement. Rather, an extra point of interest has been added with the use of green limes in the vase. This gives a color contrast to the pink roses and provides an added dimension to the entire arrangement.
As you can see, the container plays a huge role in the design of the overall arrangement. When you use floral foam for your arrangement, you really don't want people to see the stems, so, if the foam will remain visible, you will either use an opaque container, or you will wrap the foam in something to disguise what it is.
Some arrangements are created so that the foam and container are both invisible, and all you see are the flowers. This is a typical approach for a tabletop arrangement. Floral foam is placed in a low bowl or tray to contain any water, then the arrangement is designed in such a way to completely disguise the fact that there is floral foam in place. Here is a photo of one such arrangement:
As you can see, the entire arrangement is the focus of the design. No one, eating at that table will see either the floral foam holding the stems in place, or the container that is used to provide support and keep the tablecloth from getting wet. In this case, the entire floral part of the arrangement is the focus
Buckets, Baskets, Boxes, and more.
Before you head out to the store to get some containers, look around your home first. I went through my house to find potential containers, and here are a couple that I found that I thought would make for nice arrangements.
Here I have three metal containers that have been "resting" for a while.
One is a metal watering can that I couldn't bring myself to get rid of. I was sure that I would be able to use it for something one day,
Sure enough, I ended up putting some silk peonies into it. Add just a little bit of greenery for a realistic look and you're done.
Quick, simple, and ready now for giving to someone as a very welcome gift.
The next project took the next metal pitcher and evaluated it. It is a bit more rustic and funky. I tried a few types of flowers in it, but nothing worked until I tried an autumn arrangement of mums and sunflowers.
This was a perfect arrangement and makes for a very cheerful arrangement. I was glad that the stems didn't show because they were not very artistic looking.
In this case, I was much more interested in finding a sense of balance for the flowers and how they interacted with the container.
The next one was a metal wall container that has a whimsical cutout of Thyme . This seemed to just beg for a spring collection of flowers.
This one I wanted to keep, and I wanted it to reflect the feeling of a small posy type arrangement where it looks as if someone had just gone out to the garden to pick a handful of flowers.
Teacup Arrangement:
For this arrangement, you will need a teacup. If you're using artificial flowers, don't use your favorite cup for drinking tea!
Measure your floral foam. Remember, this can be tricky. I thought I had purchased Oasis floral foam for this project, it just felt slightly different, but it turned out to be actual Styrofoam. It did not want to absorb water, so later in the project, I just cut a piece off a large brick of Oasis and shaped it to fit the teacup.
Once you have the floral foam ready, cut it an inch or so above the lip of the cup. I'm making a larger arrangement. If you're going to have a tiny arrangement, you can have the floral foam level with the edges of the cup. In my case, I wanted a little bit of height, so I needed the extra foam.
In order to provide additional surface area for your arrangement, cut off the sharp edges of the foam, and you'll be able to put more flowers into the foam.
Go to the grocery store and find a nice bunch of flowers that you like.
You will need a piece of Oasis and a good pair of scissors or clippers. Other than that, there is little that you need in addition.
Once your floral foam is shaped to the right size and is soaked in water (it will hold a lot of water. It is incredibly light when you put it in the water, but once it absorbs the water, it will be quite heavy.
Press it into the teacup. For extra support you can add a couple of strips of floral tape, but for my purposes, I didn't think I needed it, this arrangement was for me. Begin by adding a bit of greenery at the base of the arrangement. All stems need to be freshly cut in order to drink water well. I used rosemary from the garden for this part of the arrangement.
The next step is to place your first flower. In this case I chose a tall pink rose. This arrangement is to have a sweetheart type of feel to it, so the single pink rose is placed near the center, but just off center.
As you continue with your floral arranging education, you will learn that all forms of art prefer the use of odd numbers: 1, 3, 5, 7, 9.
If the flowers I had gotten had three smaller roses, I would have preferred that to be my central area of focus, but it only had one large pink rose, so I went with one.
From that point, I continued to add odd numbers of the other colors from the bouquet I had chosen. The tiny green mums, the white mums. As you can see the height of the pink rose determined the total height of the arrangement. From there I worked in an asymmetrical zigzag pattern filling in all the spaces of the arrangement.
And here is the completed teacup arrangement.
This is a very sweet arrangement that can be created quickly, and with very few flowers. It is perfect for Mother's Day, for someone who isn't feeling well, for a birthday for your mom or grandmother. This is one of the very best first floral arranging projects for people because you end up with a really great arrangement, and most people can't believe that you did it on your own.
Boxes
I found a box that has a saying that I believe my friend will really appreciate. To make this a more special gift, I'm going to put a fresh flower arrangement inside of it so that she can enjoy the flowers for a week or so, and then once they are gone, she'll still have a memento from my gift.
Using a box to include an arrangement is a unique idea, but one that can easily be done. For a silk arrangement, you don't have to worry too much about protecting the box against moisture.
In this case, I'm using fresh ivy and yellow roses. This will require protecting the box. I use sturdy plastic wrap or floral cellophane to line the box. Then soak the floral foam so that it is completely saturated. Place the foam to one edge of the box. You can fill the rest of the box with extra cellophane. Because this box has a lid, you don't need to fill the entire box with flowers, they will be spilling out through the front.
This not only makes it easier to arrange, it also saves you money. The smaller the box you have to fill with flowers, the less expensive it is. The next step is to find a strong floral stem that is long enough to hold up the lid of the box to avoid crushing your arrangement. You will be filling the remaining gap with flowers.
I've chosen to use roses and ivy, but you could use any combination of flowers. Using what you've learned about color, flowers, and how people respond to them, you will want to plan your arrangement accordingly. Because this arrangement is for a friend, I chose yellow roses because they represent "friendship".
Cut your flower and foliage stems to about the same length. I have long trailing ivy, and so that I left long because I love how romantic it feels draping over the edge of the box. I didn't want this to be completely filled with flowers, I only used five yellow roses, the ivy and some additional greenery. This is another easy project for you to try as you're learning about floral arranging.
Here's another view of the finished "flowers in a box" project. Simple, easy, and unusual.
Now that you've seen how to use various containers in unique ways, putting flowers into a basket should be pretty simple. Again, I used the trailing ivy because I liked how the smooth leaves contrasted with the roughness of the texture of the basket. Remember, you want to use a variety of textures. Contrast is intersting.
Tall vs. Short
All arrangements will dictate how you approach them based on what you need. The following sets of photos show exactly the same flowers used but one is a short arrangement and the next one is a tall arrangement.
In this set of pictures I've used exactly the same flower, the lovely alstroemeria. In the photograph on the left, I have cut about five stems of flowers to about 5 inches tall. They were placed in a vase of a corresponding height. The arrangement on the right is about 18 stems at 24 inches. While the look is remarkably similar, it is very different. The arrangement on the left is small, petite, and works in a bathroom, or on a bedroom nightstand. The taller arrangement is more appropriate for a buffet table, a front hall entryway, or in the middle of the dining room table (but NOT for a dinner.you'll learn why soon!)
Sometimes you will cut your taller flowers down to accomplish a shorter arrangement like this of simple yellow roses. Both of these arrangements have the same number of stems, but because the one on the left is shorter, the blossoms bunch up together in a very compact style. The arrangement on the right is placed in an open necked vase, allowing the blossoms to spread apart. Again, exactly the same flower, but a completely different look. When extending the life of your flowers, you can cut off some length, and give your shorter flowers an extended lifespan.
Centerpieces:
Much of the floral business caters to the wedding industry. In addition to the bridal bouquet and mom's corsage, you'll be making tabletop arrangements.
Both of these pictures show identical arrangements, with one exception, the one on the left is a low arrangement made in a flat plastic round container, designed to have the flowers flush with the table. On the right, the same arrangement is balanced on top of a 36 inch glass vase in which 3 calla lilies have been placed in an inch of water. (I couldn't provide you with a picture of this arrangement on top of the table because the reception was outside and it was too windy. The venue personnel would not allow us to use the tall arrangements for fear that someone could be injured. That is how it goes in the wedding flower industry!)
Here is another example of two tabletop arrangements, this time they are slightly different in design at the request of the bride. However, as you can see the point of a tabletop arrangement is that you must be able to see the person across the table from you. All tabletop arrangements should be shorter than 12 inches, or they should be elevated as is the arrangement on the right so that people can see across the table.
This is a pretty standard rule of thumb, if you are sitting at a standard height table and cannot see the face of the person across from you, the arrangement is too tall. Most people make this mistake, because they are not floral designers. They get a bouquet of flowers, plop them into a tall vase and set them right in the center of the table. But you can't see around it! If you have flowers in a vase like that, place them on a side table, or on a low coffee table. Any flowers on a dining surface need to be significantly shorter, or elevated as they are in these examples.
Sunflowers are also known as Helianthus (Helia: Sun Anthus: Flower) in scientific terms.
The sunflower was used as a symbol of the Spiritual Church due to its property of turning towards the sun as "spiritualism turns toward the light of truth." Moving towards the sun is called heliotropism.
Sunflowers can be used to remove or extract toxic elements from soil like arsenic, lead and uranium. After the Chernobyl disaster, they were use to remove cesium-137 and strontium-90 from a nearby pond.
Sunflower oil is widely used for cooking while its seeds are used as snack.