An email application wouldn't be complete without the ability to store contacts. Outlook calls its contact list an address book. The term contact list and address books are used interchangeably in the email world.
Create an Address Book for Your Account
Unless you're using a corporate account that uses Microsoft Exchange server, you need to create an address book before you can add any contact entries. When you configure Outlook to work with an outside email service such as Gmail, only the account is configured with no address book. You must create your own that is then stored on your local computer.
The settings to create a new address book are in the Outlook settings.
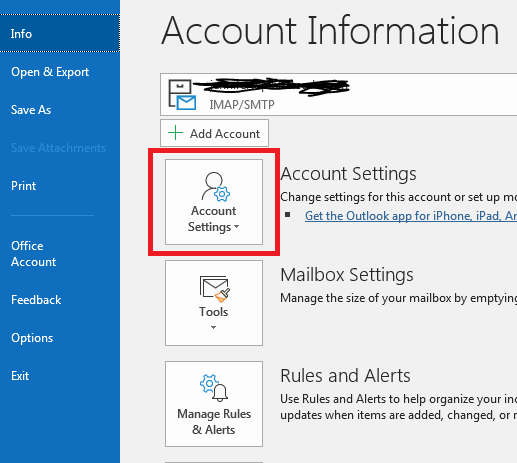
(Account Settings button)
Click the "File" tab. In the "Info" section of this page, you'll find the "Account Settings" button. A dropdown list of options displays. Click "Account Settings" in the dropdown and your Outlook settings window displays.
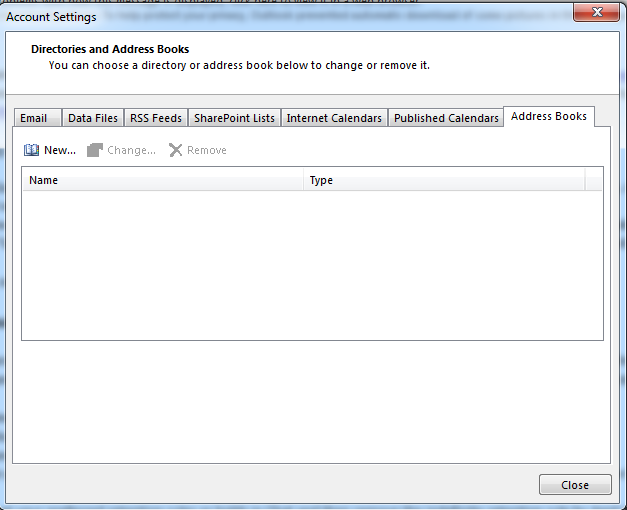
(Address Book configurations in Outlook settings)
Click the "Address Books" tab and any configured and saved address books will display. In the image above, no address books exist, so we must create one. Click "New" and a window opens that will guide you through the steps of creating a new address book.
In the first window, select "Additional Address Books" and click "Next." In the next window, click "Outlook Address Book" and then click "Next." A popup will tell you that you must restart Outlook, so close and restart the application.
Add a Contact to the Address Book
With the address book added, you can now add, view and delete entries. The button to open the address book is found in the "Find" menu in the "Home" tab.
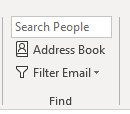
(Find menu category)
This category has two options related to the address book. The "Search People" option will search for a specific entry. Clicking the "Address Book" button will open it. The "Filter Email" dropdown will display options to filter email by a specified criterion, but it's unrelated to your address book.
Click the "Address Book" button to open the address book.
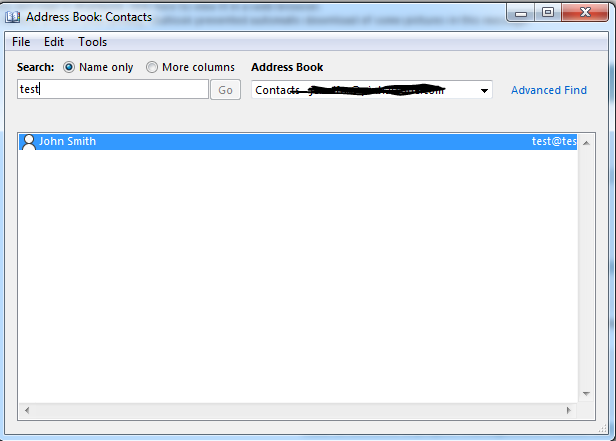
(Outlook address book)
Outlook's address book is simple, so you don't see many options in this window. When you open the address book, a list of contacts is shown in alphabetical order. The above image only shows one contact, but you'll see several when you add contacts.
The "Address Book" dropdown displays each address book configured in Outlook. When you create a contact, you must choose the address book to store it. Because you can have several accounts configured with Outlook, you can also have several address books configured. These address books usually link to email accounts, but you can configure several address books with your accounts. This allows you to keep contacts separate from others. For instance, you might have one email account at work, but you have an address book for business contacts and one for personal contacts.
The search feature lets you find a contact by name. This feature makes it faster to find your contact when you know the contact's name but can't remember the email address.
To add a contact, click the "File" menu item and select "New Entry." A window opens where you choose to create a new contact or a new contact group. Outlook address books provide a way to group contracts. Choosing "New Contact Group" will open a window where you can create a group. Clicking "New Contact" will open a window where you can create a new contact for your address book. Click the "New Contact" option and a window displays where you can add a new entry.
(Create new address book entry)
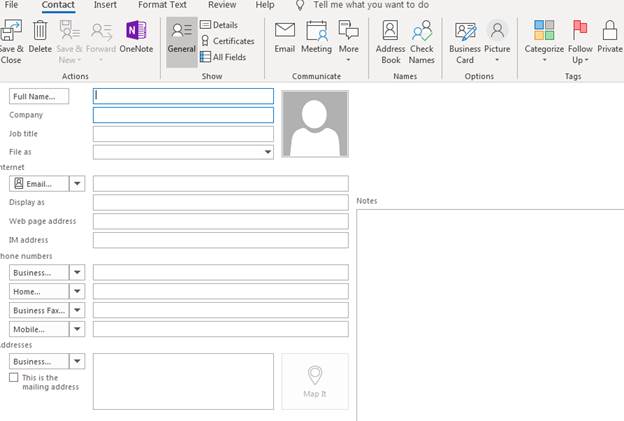
The amount of information you add is optional. You should add a name to the contact, so that you can reference and find the contact when you create an emails in the future. The email entry is where you add the contact's email address, and it's this address that Outlook uses to send email when you choose this contact as a recipient.
Any information that you add in this form will be stored for future use. Notice that you also have a "Notes" section, so you can type any notes associated with the contact.
Above the form you'll notice several menu options. A few of them are important when you work with an address book. In the "Tags" section, you can set a category for a contact and set it as a private entry. Notice in the "Options" section that you can create a business card. Click the "Business Card" button a window opens.
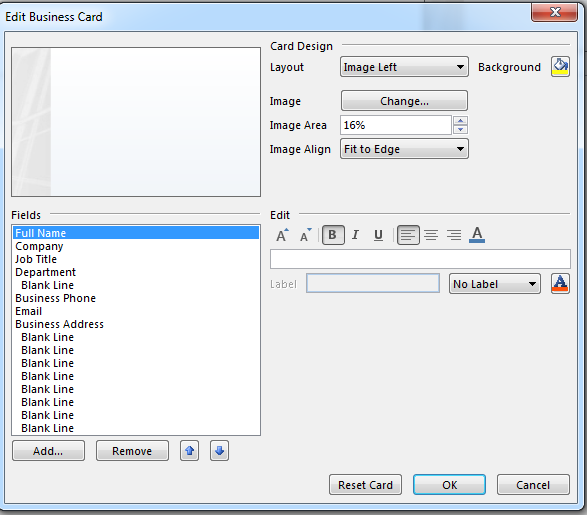
(Create a business card for a contact)
Using a business card, you can create a much more customized entry for your contact. You can create an image with stylized fonts and text. One option with Outlook compared to other email software is the stylized content that you can create to make each part of your client experience customized with your own colors, fonts, images and layouts.
After you create a contact, you have a few options. These options are shown in the "Actions" section in the "Contact" tab.
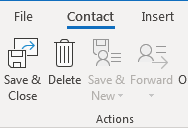
(Actions category in the "New Entry" window)
By clicking the "Save & Close" button will save your contact and close the current window. Should you decide that you no longer want the contact, click the "Delete" button, and it will be removed from your address book. The "Save & New" button saves the current contact and clears the form so that you can create a new contact.
Using the Address Book to Send Email
After you create an address book and entries, you can now use it as you create emails. When you create a new email, the "To" button is shown next to the recipient list. Click this button and your address book opens. You can also open this window by clicking the "CC" button or the "BCC" button if it's enabled.
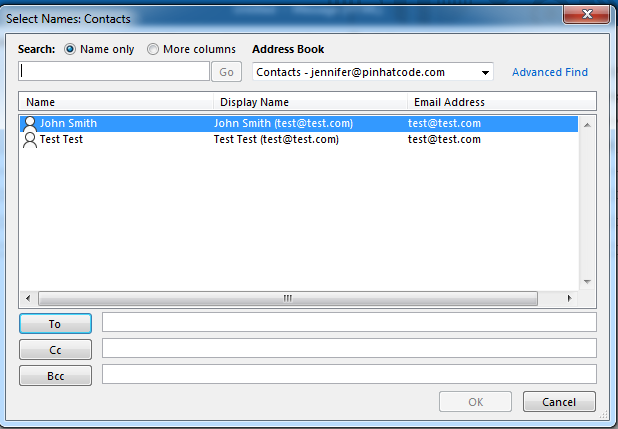
(Address book opened from the "New Email" window)
In the image above, you can see the "To," "CC," and "BCC" buttons. This lets you assign a contact to each recipient list directly from your address book. Instead of remember email addresses and manually typing them in these text boxes, you can use Outlook's interface and simply double-click each item shown in the address book. The selected item will be added to the appropriate recipient list. This is one major advantage of Outlook over other email software clients.
After you've selected each email, click the "OK" button, and Outlook returns you to the main email composition window. After you are finished composing an email, creating a subject line, and assigning recipients, click the "Send" button to package it and transfer it to your outgoing email server. If transfer is successful, you will see the email in your "Sent Items" folder.